Switching to Open Authentication
Both Microsoft and Google have announced that they are moving their pop3 access flow away from using Basic Authentication systems, otherwise known as username and password, to Modern Authentication otherwise known as OpenAuth2.
The username/password system is being replaced with OAuth2 and existing login methods will fail, with no way to re-enable the options.
This document describes how to configure FTGate to use OAuth2 for either Microsoft or Google.
Setup
In order to configure Authentication you should follow these steps.
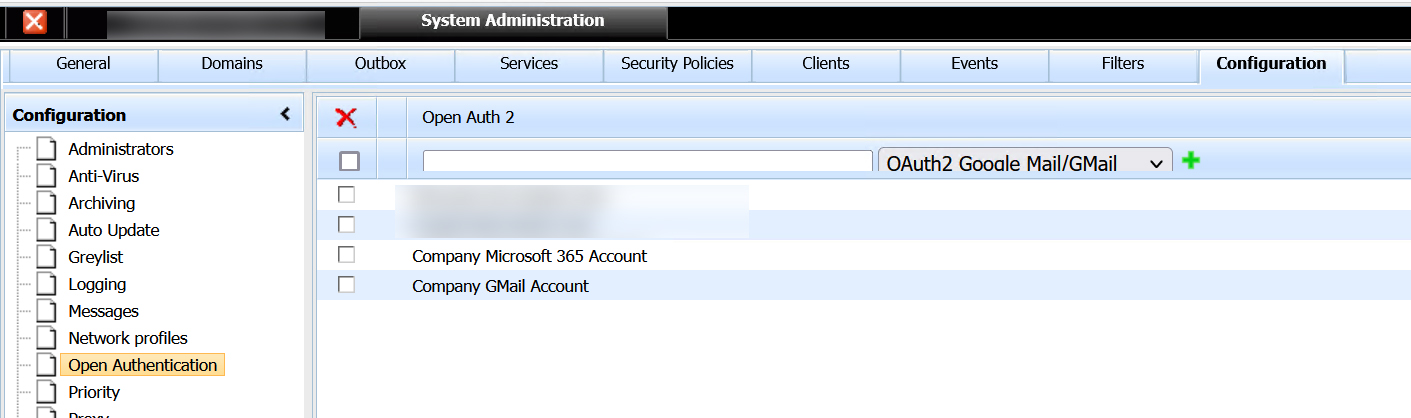
- Start FTGate Webadmin
- Go to Configuraton/Open Authentication
- Enter the name of the new Authentication provider and the type of provider from the drop down.
e.g. “Company Email Account” and “OAuth2 Microsoft/Office 365”

- Click the green + button
- The new Authentication provider is added. Select the new provider by clicking on its name and a new property page will show in the bottom pane.
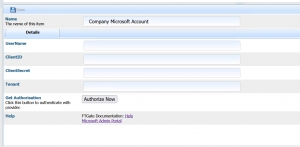
- This property page has several fields to be completed that depend on the values in the providers administration portal. Links are provided at the bottom of the property page, in the help section, to the appropriate configuration page at the provider.
For instructions on setting up for Google please see here.
For instructions on setting up for Microsoft please see here. - After completing the setup on the providers administration portal you will be able to complete the remaining fields in the property page using the details from the provider.
- You should then enter the appropriate UserName of the account at the provider.
e.g. user@gmail.com, user@domain.onmicrosoft.com - Finally you should save the changes

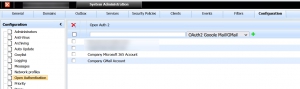
Complete Authentication and Authorisation
Once the property page details are complete and all fields have the correct values the Authorize Now button should be clicked. This will start the authentication process at the provider and which will request that you sign into the provider and grant access to FTGate for the account.
![]()
At the end of the process you should receive confirmation that Authorization has been granted. If there is an error message then please check the details in the property fields as any mistakes will lead to failure.
Configure SmartPop to use the new authetication provider
The final stage is to configure SmartPop to use the new provider.
- In WebAdmin select the Clients tab
- Then select an existing, or create a new, SmartPop account
- In the Authentication tab/Auth Type select the new provider

- Click Save

Your configuration is now complete.
Please note that during the beta phase the Test button will not work correctly and Test Connections will fail.